I make apps, take a look 👇

Beautiful images of code
Generate gorgeous, highly customizable images from your code snippets. Ready to save or share.
My Office Setup
I changed my workspace at home a few weeks ago. Instead of a dedicated room, I now have a closet to work in.
That’s right: I fit my entire office inside of a cabinet. This includes a monitor, desktop computer, laptop, three game consoles with peripherals and a bunch of binders.
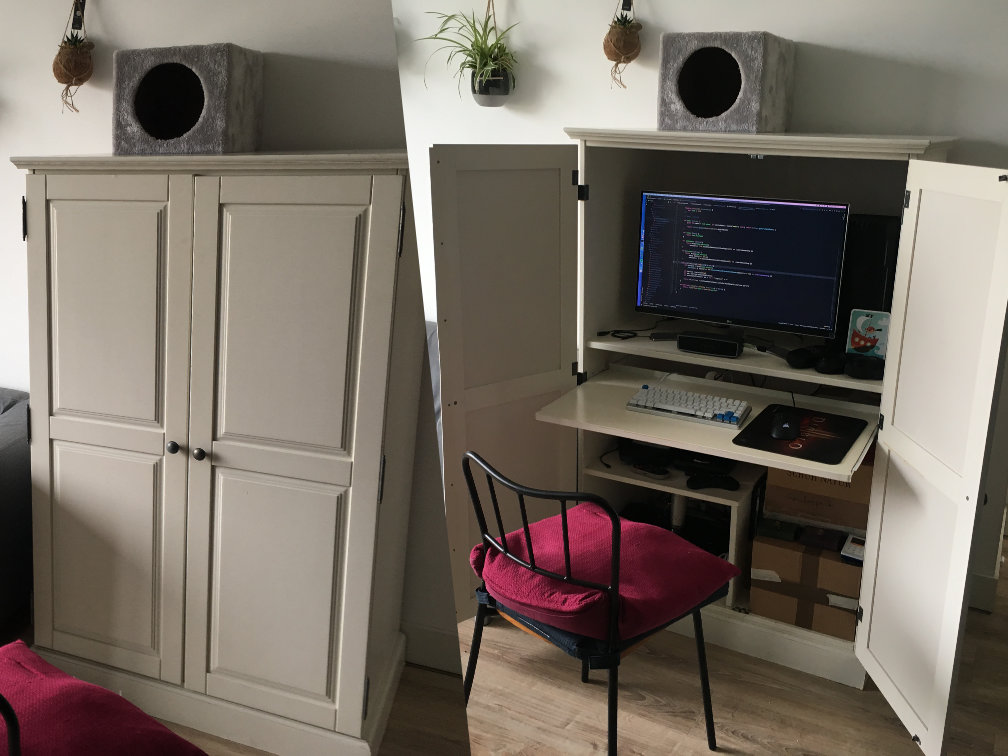
It made me think about where I work on my apps. Currently there are three major workplaces that I alternate between: my closet, a desk at Blendle and random Croissant affiliated coworking places1…
Read the rest of this post over at shorts.boy.sh. For more regular updates and personal notes, consider following me there. →
Full disclosure: Contains an affiliate link for Croissant. Using it is much appreciated. ↩
My current take on the NSStatusBar icon size
As far as I know, there’s still no official Apple documentation on the
NSStatusBaricon size. There are a few resources and discussions that mostly seem to agree on a few things:- The width is up to you.
- The icon’s max height is 22 pixels.
- If the icon is smaller than 22 pixels, it will be vertically centered.
The choice is between setting your image’s canvas at 22px and placing the icon where you want it (leaving transparent space at the edges) or using the actual size of the icon.
I tried both as you can see in the image below. Focus on the two icons in the center that represent a radar. Do you have a preference?

The one on the left is an image 22px high with the 16x16px icon centered inside. The right one is just the square icon. They appear very similar and are shown at the exact same size.
It’s very hard to see, but sitting in my menu bar I prefer the one on the right (just the 16x16px icon) centered by the operating system. It seems a little sharper to me. No hard evidence though. It could be the odd rotation of the left icon.
As for the width, the left one has 1px of padding left and right. The right one has no padding at all. Sitting next to the WiFi indicator, it might not be a bad idea to give it some more breathing room.
As the icon is square, I can just use a square
NSStatusItemlength. This sets the status item width to be equal to the height of the menu bar, thus 22 pixels.let statusItem = NSStatusBar.system.statusItem(withLength: NSStatusItem.squareLength)And there we go. If the icon wasn’t square or would look better with its width set manually, I could use
.variableLengthlike I did in the previous screenshot and adjust the width in the image.
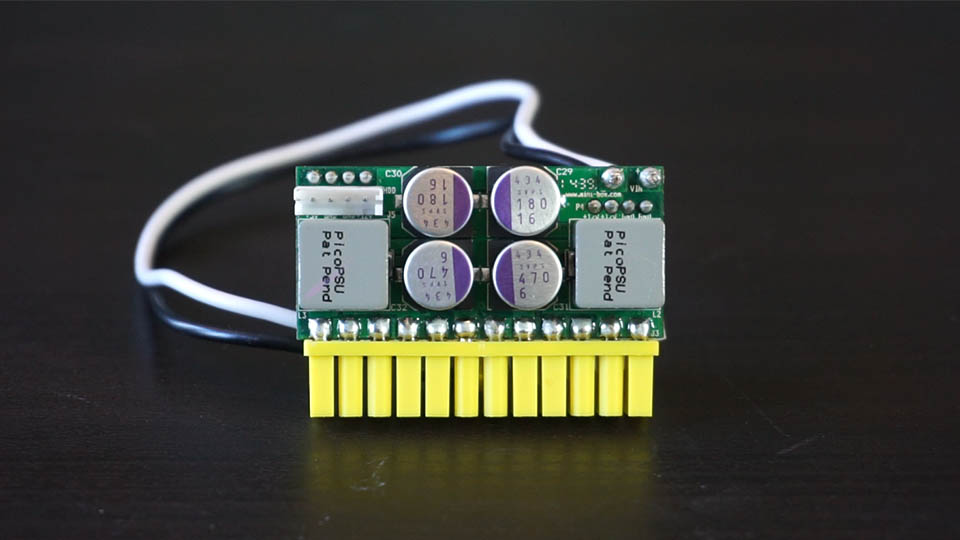
A proper adapter removes noise from your (PicoPSU powered) console
I fitted my Japenese SEGA Saturn and Dreamcast with a PicoPSU. The relatively simple operation replaces the 110V power supply with a much more flexible output that will take any third-party 12V 5A power supply with a 5.5mm/2.5mm barrel connector.
The alternatives are:
- A step-down converter.
- A PAL power supply in an NTSC console.
I’ve used both options and they’re not ideal. The step-down converter is noisey and it always bothered me that I could just stick a 220V wire into my 110V console if I wasn’t careful. Frying it in the process.
Replacing the 110V power supply with a 220V board from a PAL console is much more convenient. The downside here is price though; you need a donor console that will sit idle, powerless so to speak…
The PicoPSU is the ideal solution then. It really can be, but it the outcome depends on the third-party power supply.
After I installed the PicoPSU in the Saturn, I was quite impressed with the result. It worked fine. The Dreamcast wasn’t such a success. The screen was filled with a very odd type of noise: square blocks all over the screen. Nothing I tried could remedy it. Closer inspection of the Saturn showed the same effect, but much less pronounced.
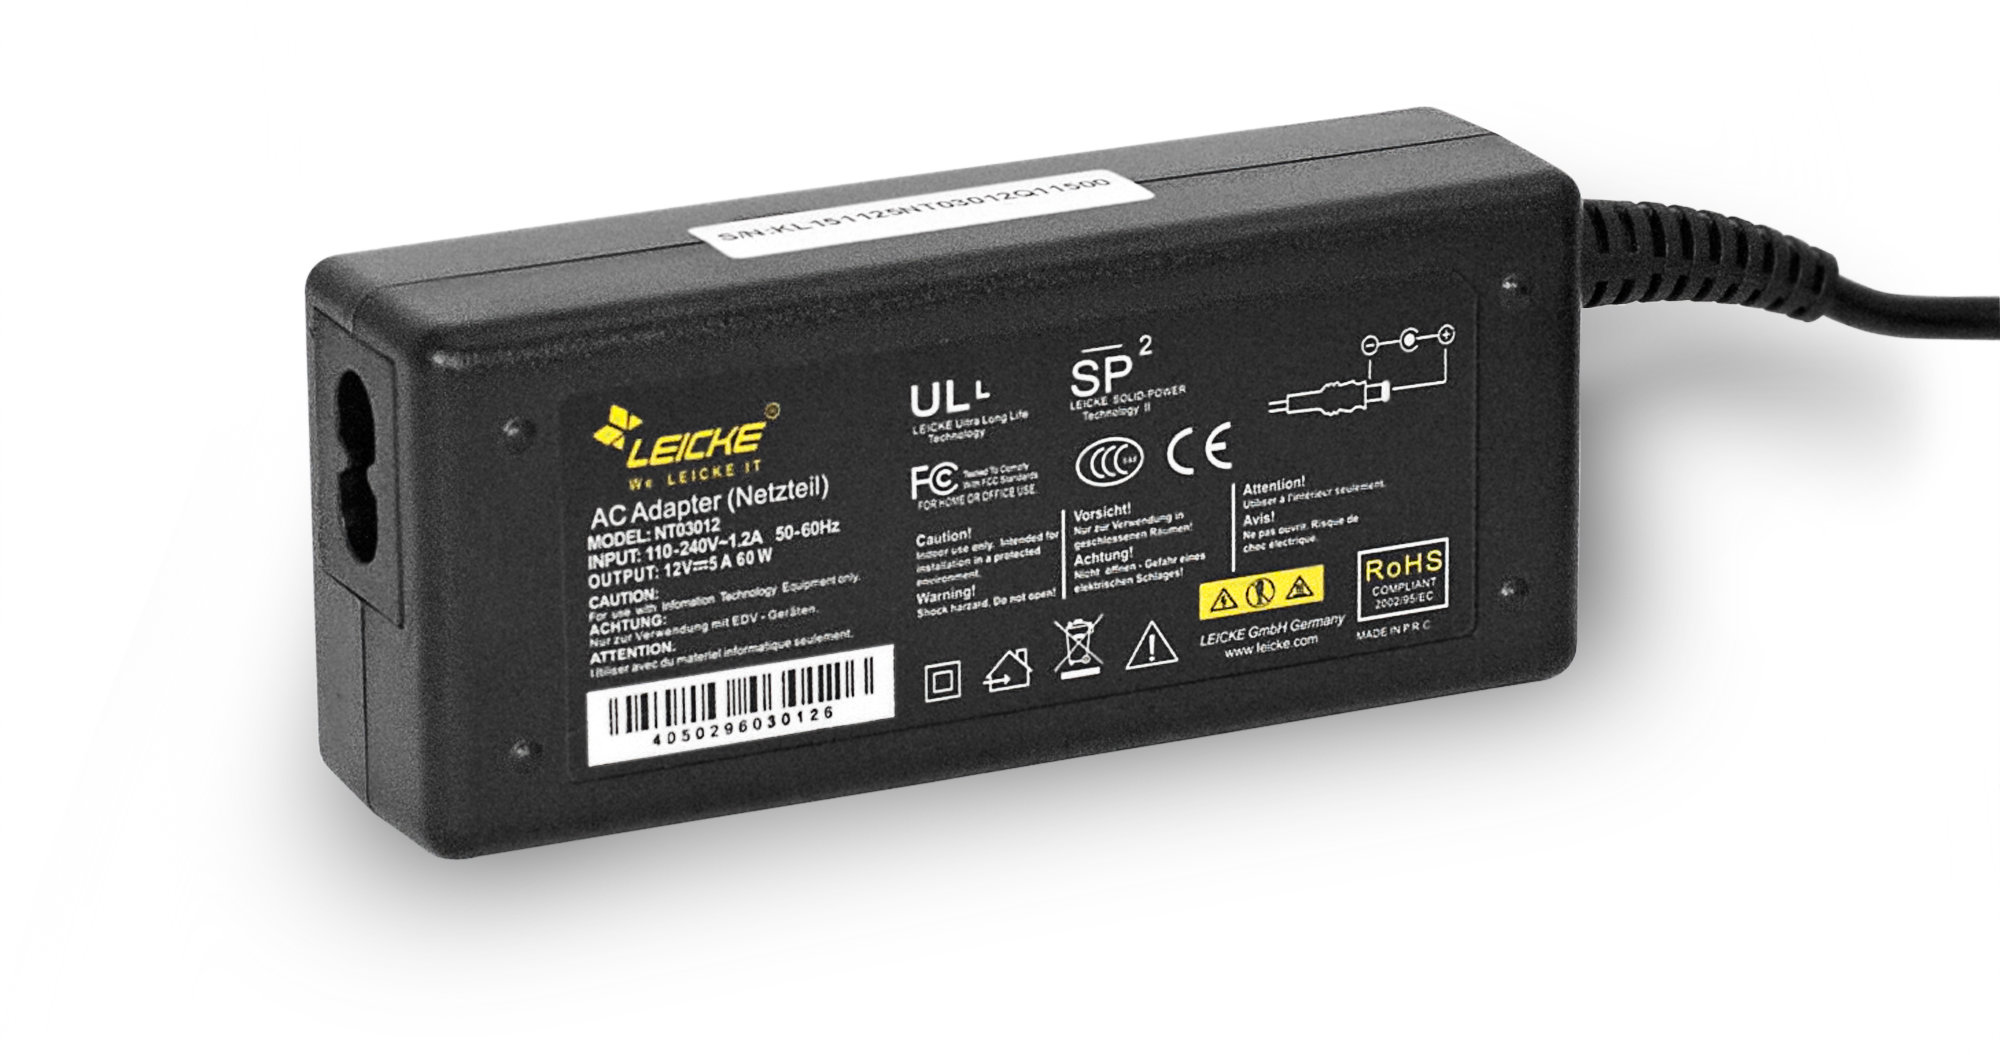
It wasn’t until I read on a forum that the power supply could have something to do with the interference, that I tried a different power supply. The adapter from my external Seagate hard drive had about the correct specifications. When I tried it with the Dreamcast, I was stunned. The picture was crystal clear. No disturbances anywhere.
The stories are true then: you need good quality power supply, or you won’t get the most out of your PicoPSU.
I got two ‘LEICKE Power Supply Charger 60W 12V 5A 5.5 * 2.5 mm’ and they’re perfect. You can get the LEICKE power supplies here.
SEGA Mega Drive
The 16-bit console is a different story, sort of. There’s no need to replace the internal power supply, but there’s also an external power brick. My Japanese Mega Drive has an annoying humm when the screen is mostly dark. I blamed the SCART cable first, but even the cable I got from retrogamingcables.co.uk has the issue.
Could the power supply I’m using be at fault here as well? Well, I think it can.
The one I’m using now outputs 1 ampere, which is just shy of the required 1.3 ampere. From what I’m seeing online this could result in a buzzing noise while playing.
Getting a replacement 9V 1.3A ‘center negative’ adapter with a 5.5mm/2.1mm barrel isn’t as easy as getting a 12V 5A brick though, if you discard the modular variety. After some browsing around I discovered that many guitar effect pedals use the same type power supply. The Rockpower 50 NT seems to fit the bill perfectly.I forgot to check Retro Game Supply. They sell a very nice Mega Drive/Genesis power supply for even less than the one I found earlier.
I’ll let you know if it resolves the buzzing when it arrives.The buzzing has disappeared with the new power adapter. 🎉Write protecting resolv.conf might stabilize your VPN connection
Setting up your headless Linux machine to connect through a VPN is straightforward. Install OpenVPN and download the configuration provided by your VPN service. That’s usually all there is to it.
Making sure it stayed connected took a little more effort on my Raspberry Pi, unfortunately. It would connect quickly, but after an hour or two the connection would drop with the following error in my
syslog:ovpn-nl[23140]: TLS Error: TLS key negotiation failed to occur within 60 seconds (check your network connectivity) ovpn-nl[23140]: TLS Error: TLS handshake faileNothing I changed in the configuration fixed the issue.
I did remember how switching the VPN connection off and on would change the contents of
/etc/resolv.conf. It would apply the name servers belonging to either my router or my VPN service. Instead of replacing the ones already there, it would just add them to the list. This is incorrect and seems to be the source of the problem I experienced.After setting my prefered name servers and then write-protecting
/etc/resolv.confmy connection has been stable. The command to prevent changes being made toresolv.confis this:$ sudo chattr +i /etc/resolv.confRestarting your MacBook resolves right-click Touchpad issues
Right-clicking is a pretty common, simple procedure. On a MacBook you put two fingers on the Touchpad and push down. A menu pops up, you select one of the options and that’s it.
Now, imagine you need to apply double or triple the amount of force for this to happen. You really need to push hard and put some effort into it. That’s how my MacBook right-clicked up until five minutes ago. I have one of the infamous 2016 models and immediately feared its end was neigh. Luckily I tried ‘turning it off and on again’ before writing it off then and there.
After a quick reboot the issues seems to be fixed. 🎉
I make apps, take a look 👇
Beautiful images of code
Generate gorgeous, highly customizable images from your code snippets. Ready to save or share.